The plans are pretty good, could add some more details as your not fitting that fire box in as it shows. Lol see pics. could also be updated with optional items like removable fire grate and ash pan. The only other item would be make it 2" shorter, less cutting if it were 48" tall vs 50". Since sheet metal comes 48"
I've been packing all the tubing with insulation before welding together.
One other mod, might be the air intake. With the ball valve installed it won't fit through a standard width door. Anybody got idea's?


Decide to just make a shallow V and raise the back about 1/2" for positive drainage.


Notice how I had to cut the tubing to fit the fire box in. Not a huge deal.,


decide on some good 6" wheels


scraps to hold insulation in place

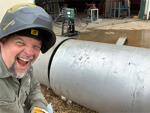
getting closer